How to make your registration site LIVE
The Event Status field on the Event Info > Basic Details tab will allow you to keep your site in Pre-event (testing mode) and change it to Live when you are ready to start taking registrations.
Test your event registration
It's always important to create multiple test registrations as you build your event. Throughout the testing process you may wish to use the Preview Event or Public Registration function from the Registration module toolbar. The Preview function will allow you to view each page of the site as it will appear to each various category type. The Public Registration function will allow you to experience the registration process as though you were a real time online registrant.
Note: If your event is fee paying and you are accepting credit card payments using QuikPay, you will not be able to complete a test registration with the Test Credit Card numbers provided. You may want to enable a non-credit card payment method to use during the testing phase so you can submit a complete test registration and receive the confirmation email. After testing is complete, the non-credit card payment method may either be hidden from attendees by turning the Public visibility of the payment method off, or deleting the payment method.
Some Key things to Check:
- Check the visible/required properties of any of the items you are using in this event. When you have a large number of attendee categories it is easy to make small mistakes on the information you are requesting from them.
- Event emails are easy to overlook, but they are extremely important. This is especially important if you've cloned your event from an older one. It's very easy to forget to change important details such as the From/Reply-To email address, or the date and time or location in your confirmation email, especially if you entered the info manually (rather than using merge codes).
- Check your event's pricing! Ensure that early bird dates are correct. There's nothing more embarrassing than having to go back to registrants to ask for more money once they've registered because of an oversight in the event's setup.
- Check to ensure that you have correctly set up the payment options for your registrants. If you are taking credit card payments, you need to have a QuikPay account from ASU Merchant Services. Double check the set-up instructions provided for QuikPay.
Before switching to Live, ensure that you have deleted all Test Registrations. This is done by clicking on the Reports & Functions item in the registration module toolbar (visible when you are in the registration module for your event only). Under the Special Functions section, you will find the option to Clear Test Registrations. Select this option to clear the event database and you are ready to start taking registrations!
Turn event to LIVE
1. Within Registration settings, go to Event Info > Basic Details.
2. Change the drop-down selection of the Event Status field to the LIVE selection.
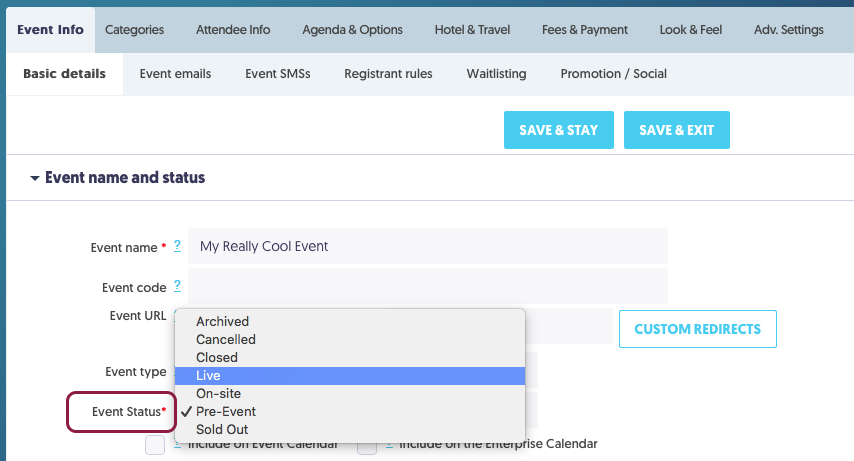
3. Select Save & Stay.

Your event is now ready to take registrations!