Creating Categories
The below steps below will guide you through adding a new category to your event.
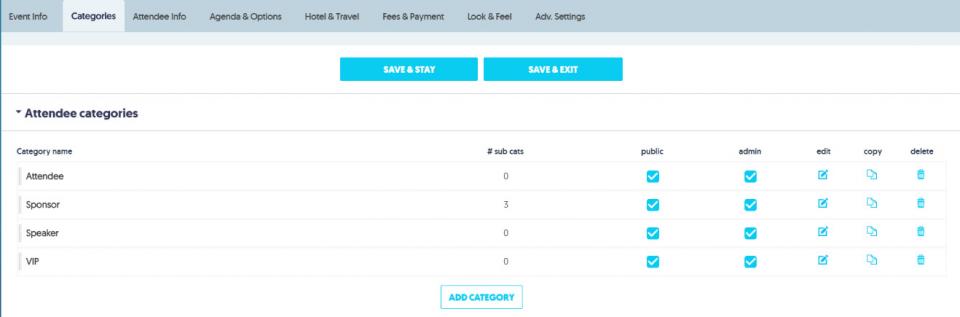
1. In Stova registration module select Categories.
The Categories Tab will display.
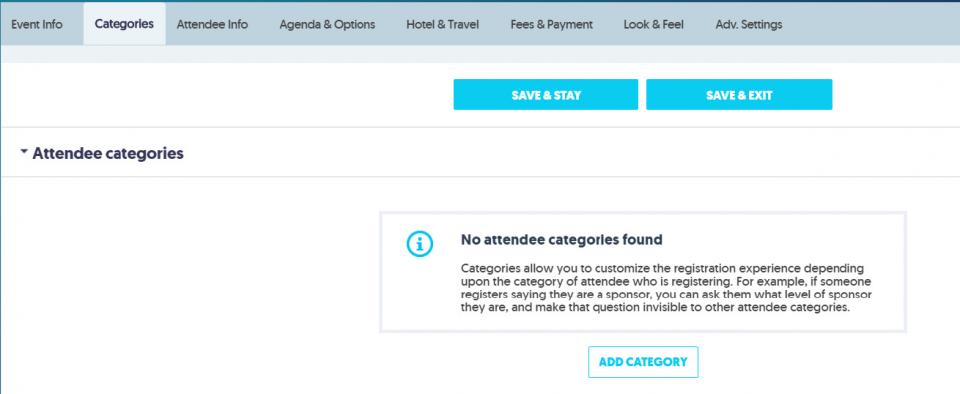
2. Select Add category.

The Add Category Editor will open in a new window:
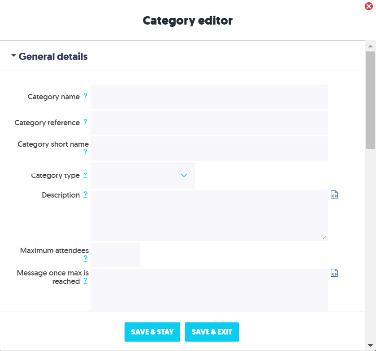
3. In the General Details drop-down, set the following attributes:
| Name | Category name e.g. guest speaker, VIP, etc. |
| Description | (optional) Description of category. Registrants will see this and it will help them to decide whether the category applies to them. Option to display in pop-up window or under Category name. |
| Maximum Attendees | (optional) Specify the maximum number of registrants that can select this category. |
| Message once maximum number is reached | This is the message that will appear to registrants once the category is full. |
| Sub-Category | (optional) Click the Add Sub-Category button if you wish to create a sub-category (e.g. Category: Attendee with Sub-categories for Member and Non-member; Vendor – Sponsor and Booth Staff). |
| Visibility Settings | Here you can choose if this category is available to Public Registrations (online registrants) or Admin Registrations (only internal Stova users may register this category type). |
| Advanced Settings | Allows you to select display options, password options, available dates, event calendar details and permissions for registering additional attendees |
4. Select Save & Exit.

5. Create additional Categories as desired.
When finished, you should be able to see the category(ies) you added as well as any sub-categories.