Waitlisting for Event or Category
The Waitlisting feature under Registrant Rules can be used when there are maximum capacities of attendees set for the entire event, individual categories, or both.
Setting up Waitlisting feature
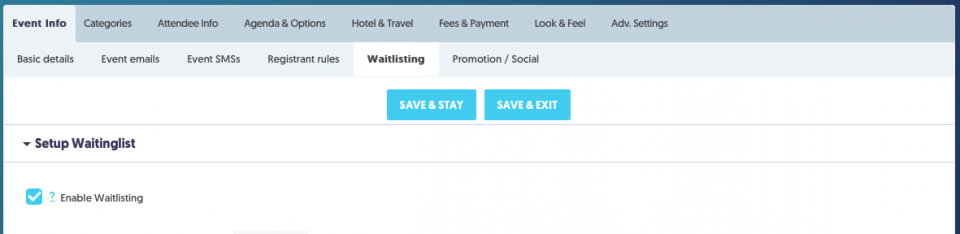
1. Go to Event Info>Waitlisting.
2. Enable the Waitlisting feature.
3. Fill out the required fields:
| Sold Out Message | The message that will display on screen when a user attempts to register for an event or category that has reached capacity, informing them that they can signup for a waitlist. |
| Waitlist Link Text | What should the link text say? (For example: "Click here to be added to the waitlist") |
| Waitlist Processing Mode | Select the mode in which waitlist invitation sending will be facilitated. Manual mode will require an admin to send out invitations manually. Automatic mode will automatically send out invitations once there are registration vacancies. |
| Categories to Waitlist | Select the attendee categories in which waitlisting is permitted. |
| Registration Invite Expiration | The amount of time before a sent registration invite expires. (In hours, days, or week days) |
| Registration Invite Expiration Message | The message which will display when a prospective attendee clicks a registration invite link after the link has expired. |
| Waitlist Registration Fields | Select the fields you want to collect from the registrant before adding them to the waitlist. |
4. Fill out other fields at your discretion.
5. Save & Stay
Emails for Waitlisting feature
If using the Automatic mode for Waitlist Processing, users must have emails programmed in the Event Emails tab.
A Waitlist Confirmation and Waitlist Invitation email are provided in the ASU Basic Event Template.